
Creating After and Before Map Using OpenStreetMap
We can create after and before maps easily using freely available map data and tools. In this post we will learn to make after before slider for OpenStreetMap using tools Maperative, Leaflet and Github pages. We will use the Maperative to create map tiles for older OSM data and Leaflet side by side control to create a before after slider. We will then host the tiles and the before after maps using github pages. We will be making the after and before map of Nepal using the current OSM data of Nepal and the January 1st, 2015 older data of Nepal. We will be using ubuntu 16.04 as our operating system for the tutorial but the tools can be used in other operating systems as well.
Download and Run Maperative
Download the latest version of Maperative and unzip it to a local folder. Linux users will also have to install mono. In debian based distributions we can simply do this using the command
sudo apt-get install mono-complete
We can now run the program by running the Maperative.sh script . We will need to set the file the be executable before you can run it by running the following command
chmod +x Maparative.sh

Download Historical OSM Data
Geofabrik hosts country level extracts for OSM data in various formats. You can download the data for Nepal by visiting this link. We can also download the older OSM files by clicking on the raw directory index. Let us download the data for Nepal from 2015 January first.
Create Map Tiles
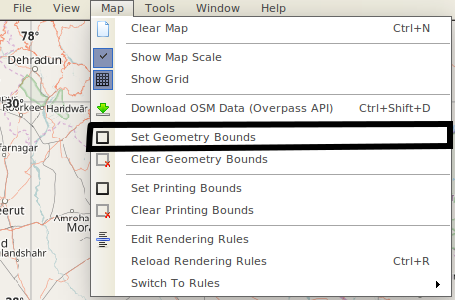
Before we loading the old data and generateing the tiles, let us set bounds for the tiles. This can be done in Maperative by going to Map > Set Geometry Bounds
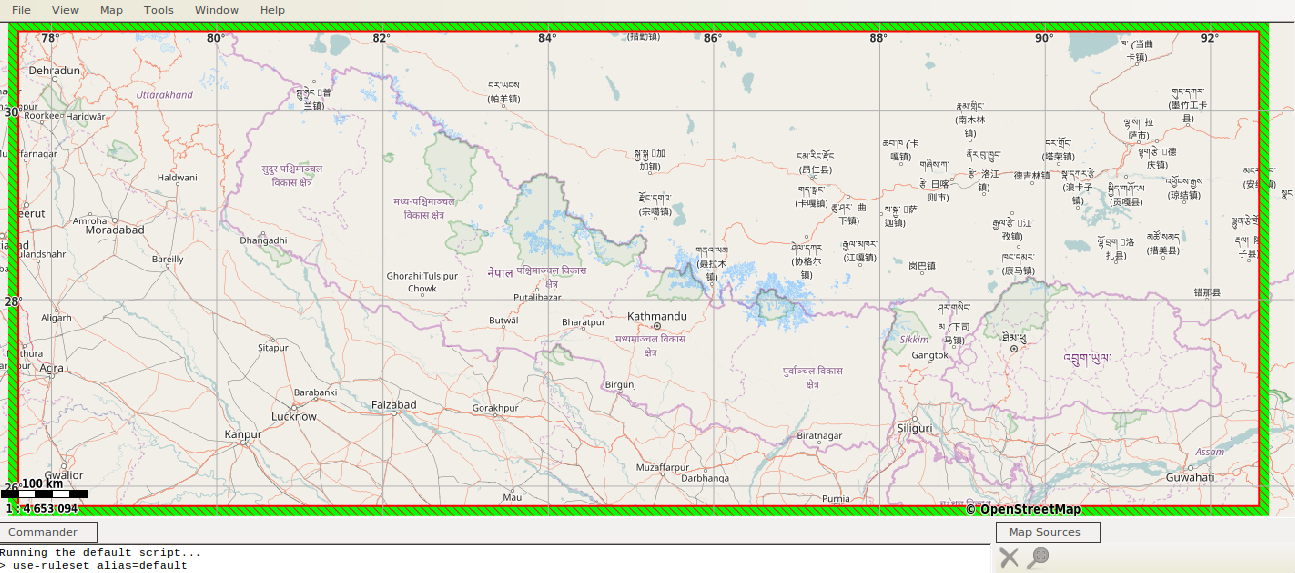
After the bounds are set you can see a bounding box in map if you zoom out a little the tiles will only be generated for the area within the bounds.
Now load the previously downloaded OSM data by going to File > Open Map Sources and selecting the downloaded OSM file. After the data is loaded we can see a new source added to the Map source window at bottom right.
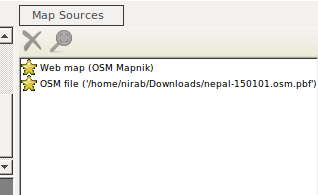
Now click on the Web map and remove the map source by clicking the cross button. We will now have our OSM file as the only map source. Now let us generate the tiles by running the command
generate-tiles minzoom=8 maxzoom=14 tilesdir=output_folder
The command will generate tile that can be used by a web map server. We can use these tiles with Openlayers and Leaflet. Also take into consideration the processing and storage requirements while setting the maximum and minimum zoom levels. We will be generating the tiles from zoom level 8 to zoom level 14 for the selected bounds and it will take 390 MB of storage.
Make Map with Before After Slider
We have the tiles ready so we will create maps to display the tiles using leaflet and add a slider comparison control using leaflet side by side. You can check the code for leaflet side by side control at its github repo. Here is the code for before after map.
<html>
<head>
 <link rel="stylesheet" href="https://unpkg.com/leaflet@1.0.1/dist/leaflet.css" />
 <style>
    	body {
    	margin: 0;
    	padding: 0;
	}

	#map {
    	position: absolute;
    	top: 0;
    	bottom: 0;
    	width: 100%;
}
</style>
</head>
<body>
<title>
	Nepal Map Comparison
</title>
  	<script src="https://unpkg.com/leaflet@1.0.1/dist/leaflet.js"></script>
  	<script src="https://lab.digital-democracy.org/leaflet-side-by-side/leaflet-side-by-side.js"></script>
  	<div id="map"></div>
  	<script>
    	var mymap = L.map('map').setView([28.2184,83.9959], 10);
    	var oldMap = L.tileLayer('tiles/{z}/{x}/{y}.png', {
      	attribution: 'OSM Contributors',
      	minZoom: 8,
      	maxZoom: 14
    	}).addTo(mymap);
    	var newMap = L.tileLayer('http://{s}.tile.osm.org/{z}/{x}/{y}.png', {
      	attribution: 'OSM Contributors',
      	minZoom: 8,
      	maxZoom: 14
    	}).addTo(mymap);
       	L.control.sideBySide(oldMap,newMap).addTo(mymap);
</script>
</body>
<html>
You can see that this is a simple Leaflet code. We create a leaflet map object and add two tile layers to the map. One of our tile layer is current osm tile and another tile layer is the old map tiles generated from Maparative. The tile source must be specified in the format output_folder/{z}/{x}/{y}.png .
    	var oldMap = L.tileLayer('tiles/{z}/{x}/{y}.png', {
      	attribution: 'OSM Contributors',
      	minZoom: 8,
      	maxZoom: 14
    	}).addTo(mymap);
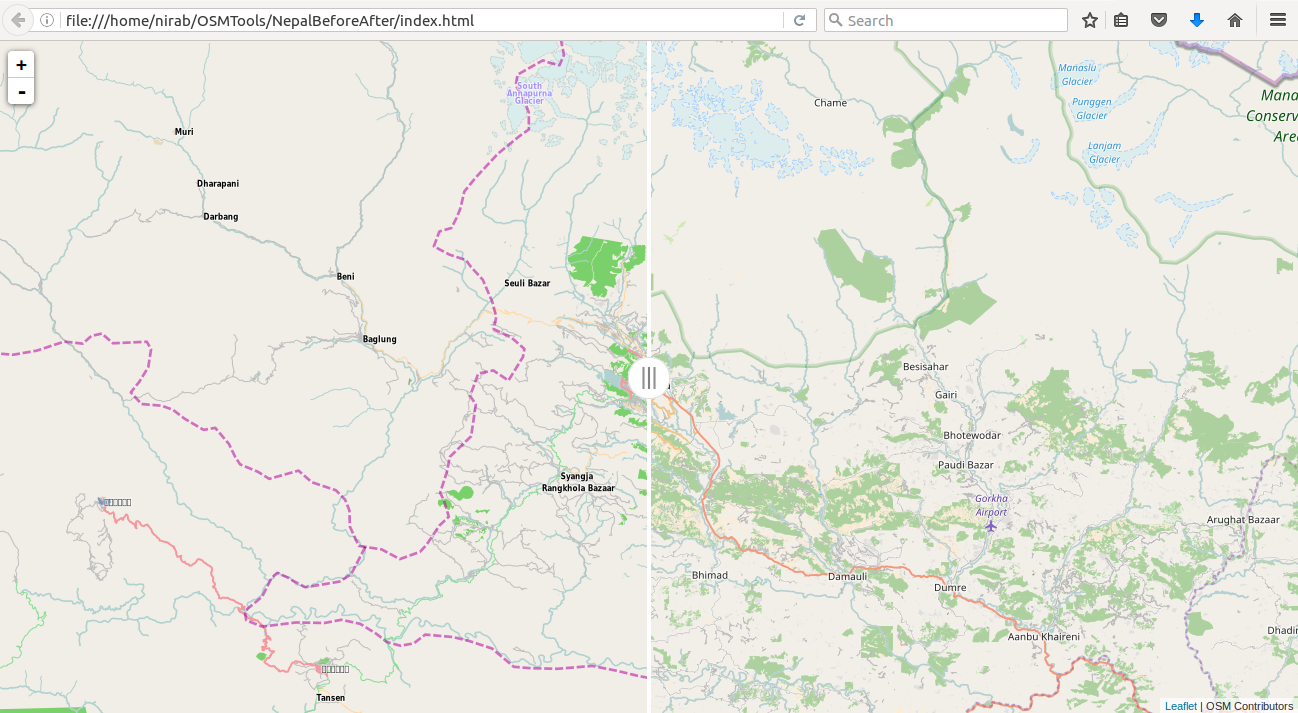
We can now open the HTML file in a browser and see the output.
Publishing Online
Github allows hosting simple sites using github pages. Create a new repo in github and push your code to a branch gh-pages. The map will now be available in the url https://your-username.github.io/repo-name**. You can learn more about github pages at https://pages.github.com.